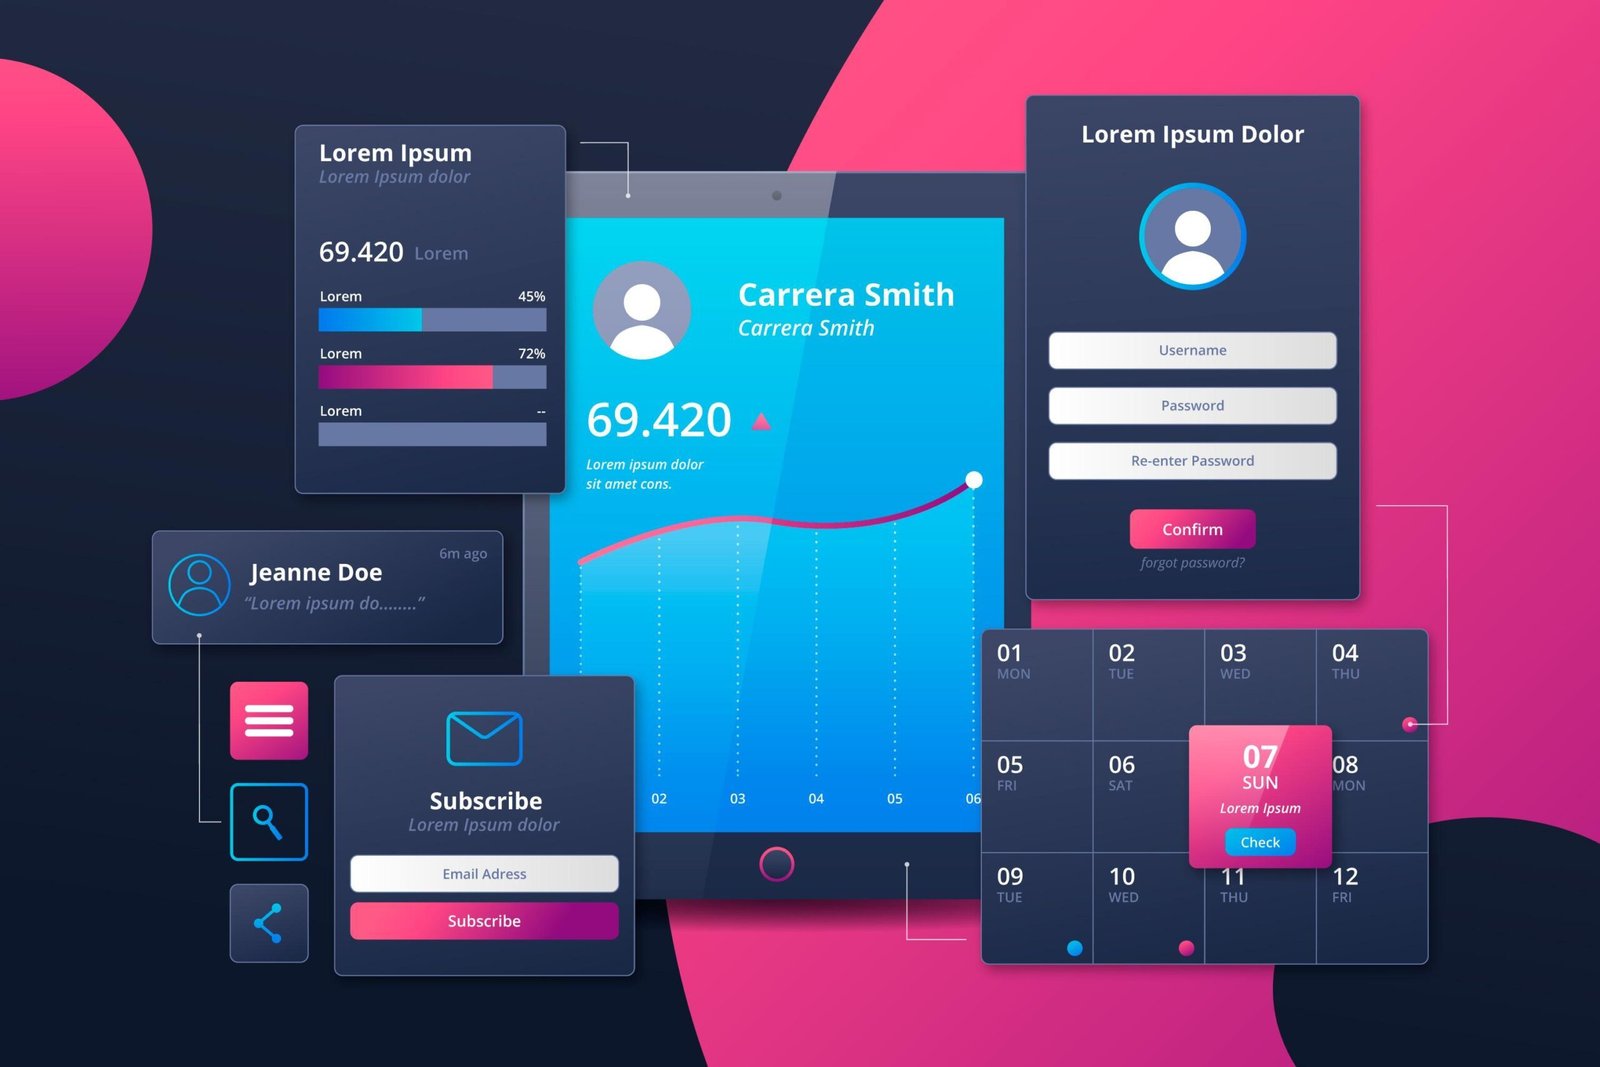
Designing an engaging and effective landing page is essential for any online business or marketing campaign. Figma, a versatile design tool, makes this process both intuitive and collaborative. Here’s a detailed step-by-step guide to creating landing pages in Figma.
Define the Purpose of Your Landing Page
Before diving into design, clarify the objective of your landing page. Is it to capture leads, promote a product, or drive sign-ups? The purpose will shape the layout, content, and visuals.
- Identify Target Audience: Understand your audience’s needs, preferences, and pain points.
- Set Goals: For example, aim for a specific conversion rate or number of sign-ups.
- Determine Key Metrics: Decide how success will be measured, such as click-through rates or form submissions.
Research and Inspiration
Gather inspiration to understand industry trends and effective design practices.
- Analyze Competitors: Look at landing pages in your niche for ideas.
- Create a Mood Board: Use Figma or external tools to collect design elements, such as color schemes, typography, and imagery.
- User Personas: Define personas to ensure the design aligns with user needs.
Plan the Layout
Sketch a rough outline or wireframe of your landing page.
- Header Section: Include the logo, navigation (if necessary), and a compelling headline.
- Hero Section: Feature an eye-catching image, a clear value proposition, and a call-to-action (CTA).
- Content Sections: Organize content logically. Common sections include benefits, testimonials, and FAQs.
- Footer Section: Add links to privacy policies, terms, and contact information.
Use tools like a whiteboard or paper to create rough drafts before jumping into Figma.
Open Figma and Set Up Your Workspace
Start designing in Figma by setting up a structured workspace.
- Create a New Frame: Click on the Frame tool and select a suitable size, such as 1440px width for desktop designs.
- Use Grids and Guides: Enable grids to maintain alignment and consistency. Go to Layout Grid under the Frame settings.
- Organize Layers: Name layers and group related elements for easier navigation.
Design the Header Section
The header sets the tone and helps users navigate the page.
- Logo Placement: Position the logo at the top-left corner for brand recognition.
- Navigation Menu: Include links to key sections or use a hamburger menu for minimalism.
- Primary CTA: Place a button in the header that aligns with the page’s purpose.
Create the Hero Section
The hero section is the most crucial part of a landing page as it captures immediate attention.
- Headline: Use large, bold text for a compelling headline that communicates value.
- Subheadline: Add a short, supportive line to clarify the headline’s message.
- Imagery: Use high-quality visuals like product photos, illustrations, or videos.
- Call-to-Action (CTA): Include a prominent button with action-oriented text like “Get Started” or “Learn More.”
Add Supporting Sections
Design content that builds trust and addresses user concerns.
- Benefits Section:
- Use icons and short descriptions to highlight key benefits.
- Structure the content in columns for readability.
- Social Proof:
- Include testimonials, reviews, or client logos to establish credibility.
- Use Figma’s Text tool and Frame tool to format quotes and images.
- Features:
- Showcase product features with a mix of text and visuals.
- Utilize Figma’s Auto Layout to maintain alignment.
Design Interactive Elements
Make your design interactive to enhance user engagement.
- Buttons:
- Design buttons with clear hover states. Use components to create reusable button styles.
- Forms:
- Design simple forms with labeled fields. For instance, “Name” and “Email” fields should be clearly marked.
- Hover Effects:
- Simulate hover states using Figma’s Prototyping tool.
Optimize for Responsiveness
Ensure your landing page looks great on all devices.
- Desktop Layout: Start with the desktop version, ensuring ample white space and a clean design.
- Mobile Layout: Duplicate your frame and adjust elements for smaller screens. Use Figma’s Constraints to make this process easier.
- Preview: Use Figma’s Present mode to preview designs on different screen sizes.
Collaborate and Gather Feedback
Leverage Figma’s collaboration features to refine your design.
- Share Links: Share the design link with stakeholders for real-time comments.
- Version History: Use Figma’s version history to track changes.
- Feedback Iterations: Implement suggestions and iterate on the design.
Prototype and Test
Create a functional prototype to test the user flow.
- Link Interactions: Use Figma’s Prototyping tool to link buttons and sections.
- Test the Flow: Preview the prototype and ensure navigation is seamless.
- User Testing: Share the prototype with users for feedback on usability.
Export and Handoff
Once finalized, prepare your design for development.
- Export Assets: Select elements and export them in required formats (e.g., PNG, SVG, or JPEG).
- Handoff to Developers: Use Figma’s Inspect tool to share CSS properties, dimensions, and other specs with developers.
- Document the Design: Include notes for functionality, animations, and behavior.
Best Practices for Designing Landing Pages
- Keep it Simple: Avoid clutter and focus on the primary goal.
- Use Visual Hierarchy: Prioritize important elements with size, color, and placement.
- Consistency: Use a cohesive color palette, typography, and spacing throughout.
- A/B Testing: Experiment with variations to see what resonates best with your audience.
- Accessibility: Ensure the design is inclusive by using readable fonts, proper contrast, and alternative text for images.
Conclusion
Designing landing pages in Figma is a creative and collaborative process that involves planning, designing, testing, and iterating. By following these steps and best practices, you can create landing pages that not only look appealing but also drive results. With Figma’s robust features and real-time collaboration, crafting impactful designs becomes a seamless experience.
My Fiver link for : Figma Landing Page Design Service